Saturday, June 1, 2013

A Wonderful Blog that Happens to be Giving Away Stuff

Today I am plugging another blog because it gives me a better chance in a prize giveaway.


I don't do this often because I find it makes for terribly dull reading, but I'm making an exception in this case because a) the prizes are exactly the kinds of things that I would like to have, and b) Trouble at T'Mill is a consistently excellent blog filled with helpful and interesting articles. So you see, I am not just trying to grub my dirty little hands on some shiny new things, but I am also supporting a fellow blogger whom I enjoy and admire.

The Champions of the Romano-British and the Saxon invaders face off in Mike Whitaker's Dux Britanniarum  campaign.
Apart from the various free stuff giveaways (links to follow) you can find on Mike Whitaker's excellent blog:

  • Comprehensive guides for things like Medieval Heraldry, Horse Color Painting based on period, and Wargaming Probability.
  • Wonderful side-by narrative and battle reports for his ongoing, and intensely interesting, Dux Britanniarum campaign. (I love reading this one. Mike has worked up a whole cast of characters and works his narrative into the battle reports in interesting ways. This one's one of my favorites.)
  • The Miller's Tale, Mikes brand new podcast.
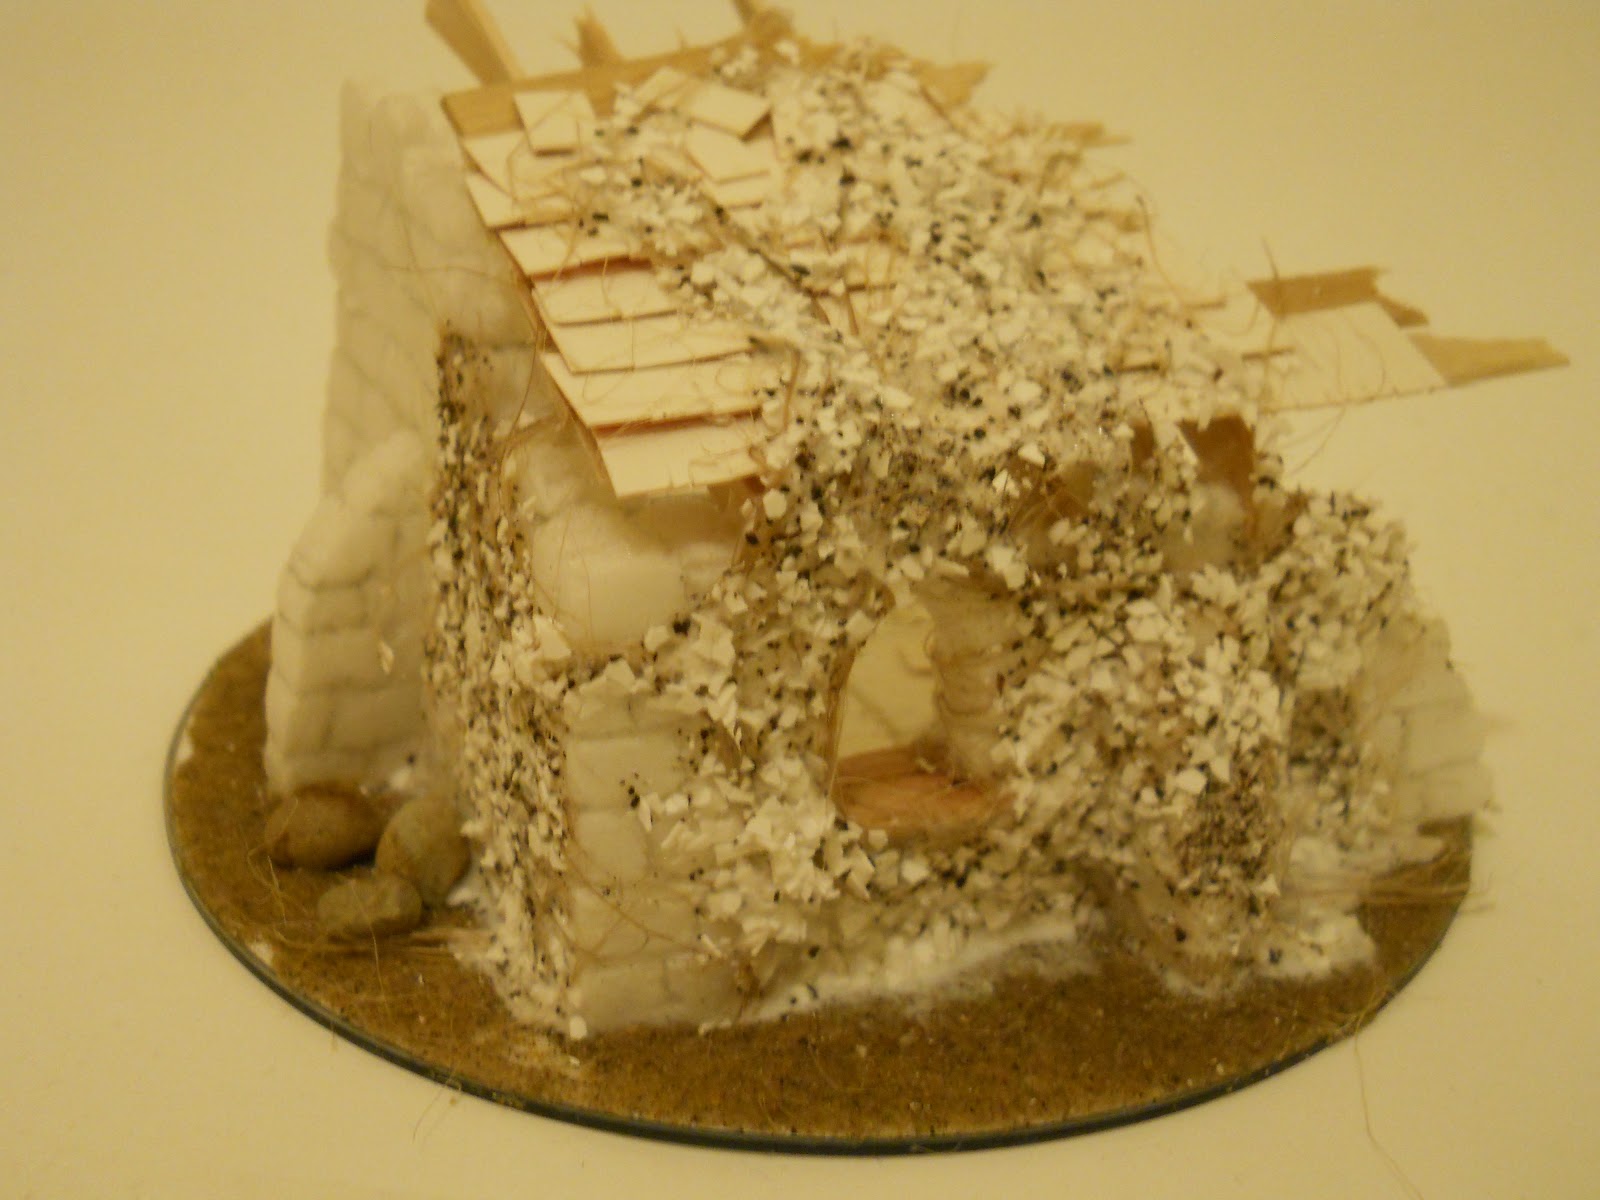
  • Excellent terrain making articles and snazzy miniatures. Plus, Mike posts every single day. EVERY ONE. Nutty, but very valuable.
So without further ado, here are some of the things that I'm looking to win, with links:

  1. Extra Lord of the Rings Sprues. Very handy way to grab some extra fantasy figs for skirmish games.
  2. 28mm Norman figures. A brand new box. Very handy if I decide, like Mike, to get my hands into Dux B, or even SAGA.
  3. Old Citadel lead and plastic. See number one. Except more so.
  4. One Too Fat Lardies ruleset, winner's choice. Even more handy if I decide to play Dux Britanniarum, since TFL are the ones who make it. If you haven't had a chance to listen to any of their game reviews on the Meeples and Miniatures Podcast, go check it out. They have a very interesting, narrative-oriented game design ethos.

But even if you don't happen to like free giveaways, or don't want these particular prizes, I still heartily recommend that you head over and read up. It's worth it.

Friday, May 31, 2013

Scavenger Priest


Hail, brother Scratchbeak, why how cheerily you traipse!
Perhaps you found a trove of  calciferous shapes.
I can picture how, as you relieved them of flesh,
A smile must have crept
up your long, long face.

Wednesday, May 29, 2013

Follow the Cairns

Pilgrim:
Just follow the Cairns to the Groaning Vale, 
The land where the wind does cry;
Follow them thence to the Needlesheets,
Where the Mountain of Asps does lie.

But dare you not to disturb the stones, 
Lest bestir you the envy of forgotten bones,
For lonely's the soul beneath the rock--
'till a pilgrim it does descry. 

Follow the Cairns, my dear pilgrim: 
Just follow, follow the Cairns.


Just a bit of atmosphere in the form of rhyme, to get the imagination tingling. I'm going to try doing a little more of that now. Maybe the added interest will keep me posting a little more frequently, while perhaps adding some zest to otherwise fairly dry how-to articles.

Anyway, here are the final products of my little series on quick n' dirty cairn terrain pieces. You can find the previous article here.

Since that article, I have coated the CD base with sand and PVA glue, primed the pieces with gray automotive primer, and then dry-brushed the pine bark "stones" with lighter and lighter gray mixes to achieve the stone texture.

The bases were treated to a similar dry-brush method working from a base of chocolate brown. I then added a decorative lichen, soaked it in more PVA and some ground foam, and then treated the whole base with a home-made blend of dried coffee grounds, dried tea-leaves, ground foam, and home-made grass flock.

Here's the result again, from another angle.


Easy peasy. Let me know what you think!

Friday, February 8, 2013

Hardcore Foamcore: Ruins III


A quick post to conclude the modeling portion of this short series on reasonably realistic, modular foamcore terrain. Here are some pictures of the WIP pieces with all the little modeling embelishments added, but no paint. 


You can see in this inside shot of the first segment that I liberally scattered some rubble elements like stones (gravel), fallen shingles (broken coffee stirrers), and splintered timbers (thin cardboard from a six-pack I drank) to make the building look more realistically ruined, but I also tried to leave a reasonable amount of room to place figures during game play.


The outside of this section showcases the vine coverage which I think really adds some interest. The leaves of the vines here are actually made from crushed eggshells (the brown bits are some dried tealeaves that were originally stored in the vessel I used). I found out about this nifty trick at terrainthralls, here. (If you haven't seen this site yet, I recommend it. Great tutorials.) I added an extra wrinkle by using some PVA and twine to create the vine stem, in a similar manner to my tree roots.


I constructed the roof timbers with coffee stirrers. It's really easy to cut them to whatever shape you want: just score them along both sides with an exacto, and snap. For messy breaks, I found it best to twist them instead of snapping.

I inserted the rafters by making a shallow cut at the top of the wall and setting each beam in with a bead of glue.

I then laid on tile 'strips' to quickly achieve the look of a once-fully-tiled roof. I then cut a few loose tiles and artfully scattered them over the edges where the strip method might be betrayed if left uncovered.


Don't know what happened with the lighting on this picture, but it's the only one I have of the interior of this building. I really enjoyed wrapping the creepers around the wall and through the window for just a little more character.


And that's that. Stay tuned for some pics of the finished, painted models. In the mean time, comment. Tell me what you think. Or lie and tell me what someone else thinks. Don't care.

Tuesday, February 5, 2013

Hardcore Foamcore: Pillars

 
A quick post on an easy way to make a few characterful terrain "smalls." using left over foamcore. After cutting all the template pieces for my ruins, I found that I only had a little bit of material left over. Not enough for any real project... but just enough to cut into some rectangles and octagons to make some pillars for cover in skirmish games.
 
Also, since only one side of the foamcore would be visible, I could use a classic terrain building technique to reinforce the joins:

 
Simply lift one edge of the foam covering like so...


...And use it as a gluing surface for the interior of the joins. Quite strong when dry.


While the pillar quadrangles were drying, I glued the octagonal bases to some large fender washers for weight.


Finally, I peeled away all of the outside paper and used the same scribing technique as I used in my ruins, roughed them up with a rock for texture, and there you go:


These will be seeing paint soon, along with the ruins. (You can see a sneak peak at the right edge of the above photo.)

DO YOU FEEL STRONGLY ABOUT PILLARS? (Or terrain, or foamcore, or anything? ANYTHING?) If so please comment below.

Wednesday, January 30, 2013

Hardcore Foamcore: Ruins II


Continuing the series on *reasonably* realistic terrain made mostly out of foam core. Here is a picture of that first test building with the parts all assembled. 


The building went together pretty easily with some white glue and paper clip pins for strength. I am pretty happy with how the stone work is looking. I't not perfect, of coarse; you can see the line where the two foam layers come together, making the wall look as though it were made of two rows of stones. However, I feel that this minor flaw is balanced by how easy the stonework effect is to achieve. I'm also hoping that the painting stage will help to sell it.

As you  can see, I also textured the CD base with some sand:

You can see the foundation for a second section lurking in the background, alongside the omnipresent cairns.


I half built another section before realizing I should probably cut out all the components so I could build everything at once:

Two assembled ruins and 'various bits and pieces,' as Niel Shuck would say...
I traced the building parts onto the foam core sheet using a template I drew on graphing paper. I actually designed four unique corners...the templates just made it easier to draw the pieces to scale. Also, if I ever decide that my hobby will include resin casting, it would be handy to have those templates around to make a 'Fantasy Ruins' garage kit.

As anyone who has worked with foam core will tell you, the toughest part is actually cutting the bits out of the sheet, what with having to cut through three layers. Having a design that was full of greebly nooks and corners didn't help, but I felt they were essential to the feeling of detail. Next time I might just try peeling the paper off of one side of the sheet before I cut out the bits. Then, in theory at least, I might be able to cut each component out in one go.

Finally, it was time to add some further detail. I splintered up some coffee stirrers to use as broken rafters and scattered some of the splinters on the flags. Then I took a walk. And discretely made off with some bits of my neighbor's gravel driveway. This was for larger rubble to represent masonry that had fallen from the wall more recently, but had not yet been carried away by scavenging masons, or otherwise disturbed.


Stay tuned next time for the final details, some creative texturing, and pics of the other three sections. And as always, please comment. I like questions. I like criticisms. I also like jokes.

Leave your jokes here:

Monday, January 28, 2013

Hardcore Foamcore: Ruins I


This post is the first in a short series on some terrain that I've been making using foamcore. Today, I'll show you the first part in my take on that wargaming terrain staple, the ruined building.

This whole idea began when I stumbled across this amazing modeling project.

I realized this was the perfect opportunity to push my own limits of 'realism' in terrain, as well as an opportunity to prove that another cheap, readily available material can be used in place of harder-to-find media like EPS, or 'blue foam.'

What follows was my first test building. The plan was to make three more like this and base them on CDs so that they could be placed as individual ruins or together as one building.

A door wall, a window wall, a section for flagstones, and some buttresses.

The main problems with a lot of foamcore buildings that I see are that the surface often ends up featureless, and the edges tend to show. This bothers me because it breaks the realism.

To fix this, I decided I would peel the paper off, as suggested in the above article, so that I could scribe textures into the foam itself. However, in experiments I found that the foam became dangerously thin and fragile when I peeled the paper off of both sides. I decided that the best way to deal with this was to cut two of each piece and then peel the paper off of the opposite sides.

The exception, of course, was the floor. Only needed one of those.


Peeling the paper was a bit of a pain, but with patience and the blade of an exacto, I eventually lifted off the majority. Once that was done, I glued the paper sides together.


My walls in progress hanging out with my cairns in progress.
Once the walls had dried, I began scribing the lines of the bricks with the back of my exacto blade. I took this opportunity to also cut a slot for the window sill, which I made by cutting a coffee stirrer to size.

You can see that I've blocked out the spot for the buttress to the left of the window. I would later push this section in with the butt of my pencil for a more realistic join.
I then went through my brick layers and scored the lines for the individual bricks. I did my best to make them match up along the edges. I then went back through with a pencil and gently widened each of the scored lines. Finally, I went over each piece with a chunk of porous stone, to add some textural variance.


Here is the result so far. Stay tuned to see the rest of the building come together.