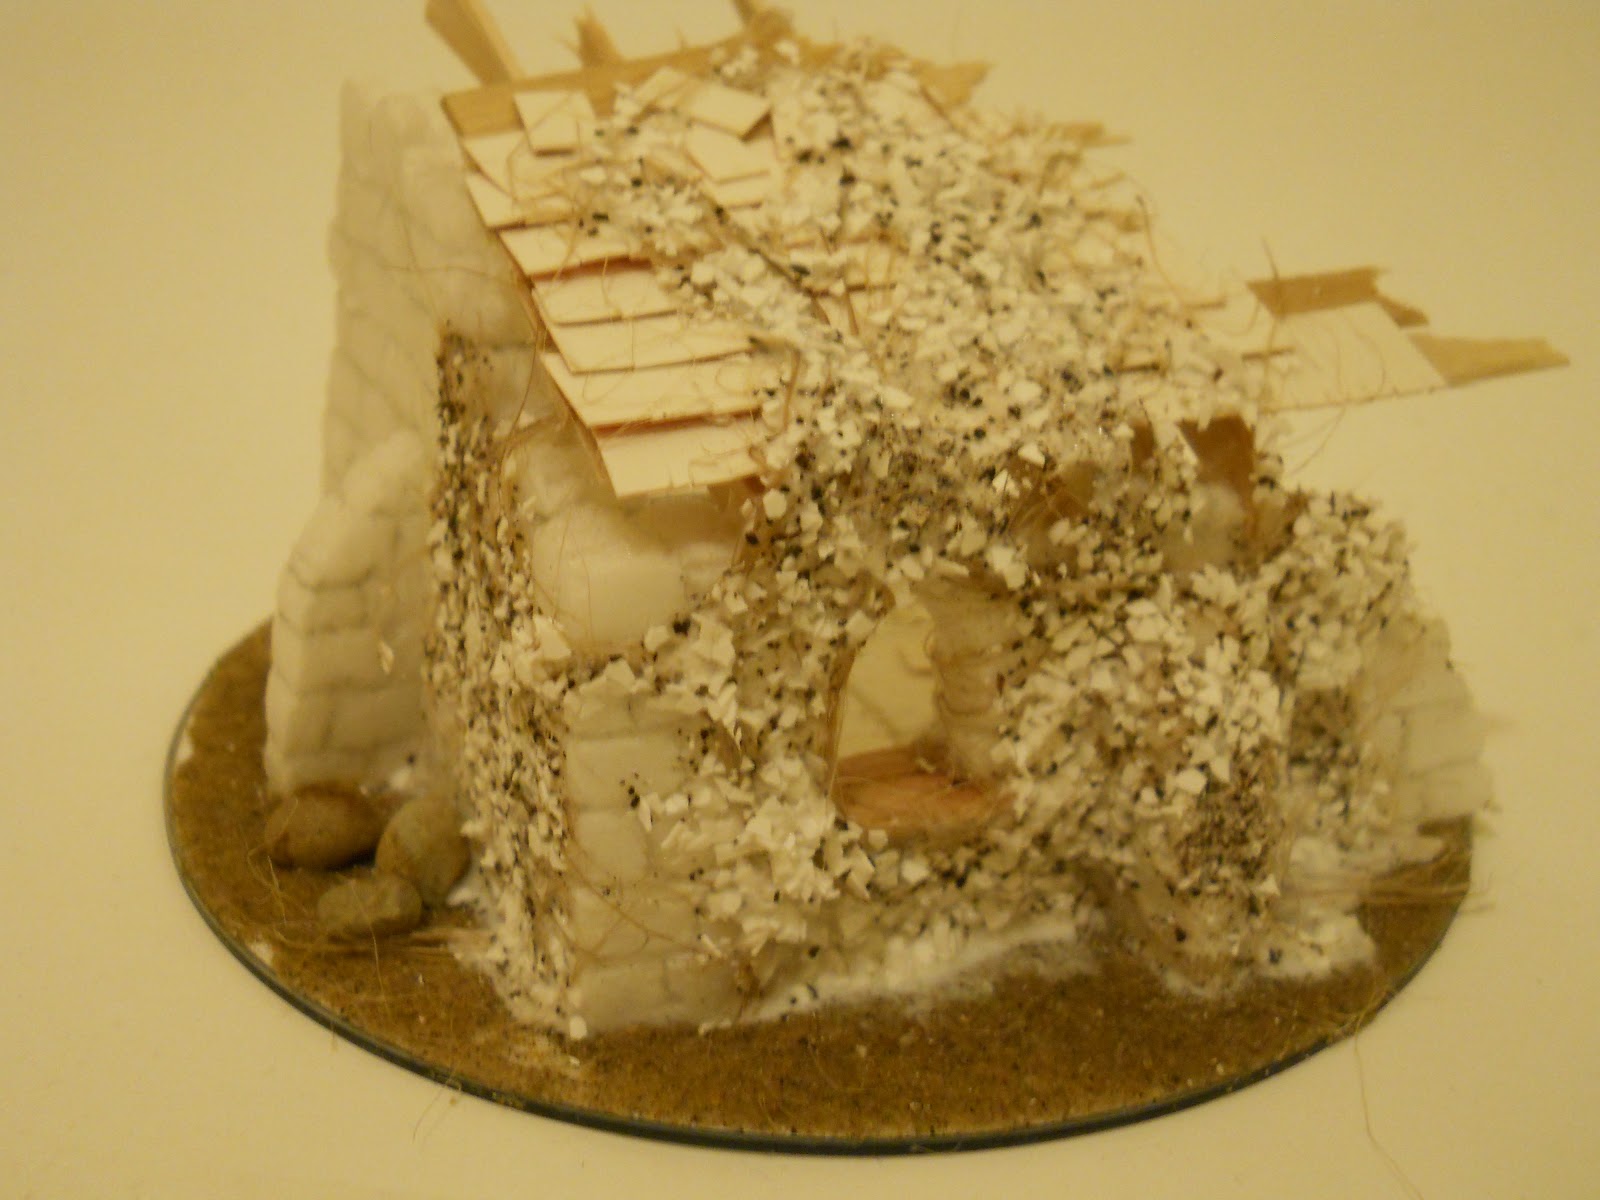
Wednesday, June 5, 2013

Synntowne Abbey Mangles: Blitzer Conversions

Having (quite a while ago) completed my plastic Orc Bloodbowl team from the Bloodbowl box, I have since let my human team sit gathering dust. Well it's time to change that.

However, the models provided in the box make for a silly line-up. To get a working team, I need to make some changes. The first (and maybe only--I haven't really decided) step is to turn a couple of the many linemen into a more useful position--blitzers.

This kind of project can be tricky, but when I thoroughly mutilated and reconstructed a couple of Orc linemen, they actually became my favorite models on the team. So I had every confidence I could do the same for these measly humans. What I had in mind was to re-position both the legs and the right arm of a lineman to achieve a running pose similar, though not exactly alike, to the standard blitzer models. Here's some of the preliminary surgery:


I went on to cut the leg on the left into three pieces at the knee and ankle. After a bunch of pinning and careful, strenuous drilling, I was ready to roll!

...Until the newly glued foot fell off and skittered into oblivion. Then I was ready to cry.

So, after much tossing aside of possessions in the ensuing search, I carefully set the first model aside and decided on a more conservative conversion for the second blitzer. A simple arm re-positioning and a sculpted knuckle duster.

Fortunately for me, by the time I got to the sculpting stage on the second model, the missing foot dropped back from oblivion into plain sight where it patiently awaited me. NOW I was ready to roll.

The Finished Blitzers
There was, of course, much gap filling, but the really important putty work needed to sell these guys as blitzers. I needed more than just the pose. Looking at the original models, I noticed the distinctive leg padding. So I slapped some on. An easy step. I also gave them some plumes by sticking a tiny length of paper clip into the tops of their helmets to use as support for the sculpting. Finally, I slapped on some fun, ridiculous, custom visors. My favorite.

The finished blitzer's arses.
And that's that. Ready for basing, priming, and paint. I still need to decide whether I want to try and convert some of the team into more catchers, since the box only comes with two. However, the box also comes with two throwers, which I think might be one too many. Now what would be really cool is if I could figure out a way to convert the extra thrower convincingly into a catcher... we'll see. Oh, and I have to decide if I want to sculpt an ogre.

I also need to come up with some fluff for this team, for as we know, teams with a story always play better. So far I'm thinking they might be the sporting initiates of some violence-loving brotherhood of monks. We'll see what I can come up with.


On another note, I've begun stripping my second-hand citadels from my last post, as well as some plastic dwarf warriors which I really messed up on my first try. I'm trying a solution of dish soap and water to see how well it works. Stay tuned to see the results.


Oh, and if you have anything to say, too bad. It's not like you can comment or anything.

Monday, June 3, 2013

From the Ground Up


There is much to consider when getting into the modeling and miniature gaming hobby. Yes. Much to consider, and even more to build. It is a daunting task. But one must start somewhere.

One is reminded of some old adage.

I am writing this post to share my experience following someone else's great idea. If you would like to see the original tutorial, you can find it here from Sir Tobi of Tobi's Paint Pot. It is worth it, trust me, and by far the greatest resource I was able to find, during months of searching, on the subject of DIY Battle-mats.

That's right, you read me correctly. A realistic, roll-able, DIRT CHEAP method for turning any old table into a gaming table. And for the tiniest fraction of the cost of a commercial model.

Here are the materials:


1. Acrylic paste from the hardware store. The four tubes cost me something like 15 dollars. I got the siliconized variety, cuz I figured it might give extra flex. You might need all four tubes for a full-sized table, but my little 3' by 4' table only needed one.

2. Generic brown craft paint. As cheap as you like, really.

3. Twine or string.

4. Scissors for the twine or string.

5. Flocking and texturing materials.

6. Also, some washers and a pointy nail.

7. And a piece of artists canvas. I was expecting this to be the most expensive part, but to my surprise, the medium weight, unprimed stuff that I got was only five bucks a yard, and for my table a yard was all I needed. 

(8. Newspaper. DO NOT forget to put newspaper under the canvas, just to make sure you don't ruin your dining table.)

Big ol' bucket of grass.

For the flocking materials, I used my usual home-made grass flock (though this project brought out some weaknesses in my method for making said flock, which I need to work on), dried coffee grounds and tea leaves which I had collected, and also a pack of ground foam I got at the art store with the canvas. Four bucks or so.

I should note here as an Amateur Tip that this project can be made or broken on the quality of your flocking materials. If you have passable flock (like mine) you will get a very satisfying result. If you have a range of high-quality materials to mix together, I think the result would be mind-blowing. Balance, as ever, is key.

Here's the point where my method differs from the original: I, unlike Sir Tobi, do not have the luxury of being able to drill holes in a table to use as a stretching rack for the canvas. Because I don't have a dedicated gaming table. It's kind of why I got into this in the first place. But I found a work-around.

In order to secure the canvas to the table while it dries (so that it doesn't shrink and so it stays flat) I first glued some spare washers to the corners of the canvas. I then used my nail to poke a hole through the center of each washer. Like so:


By feeding twine through these holes, I was then able to tie the corners down to the legs of the table. The washers made sure that the canvas didn't rip, and the string just got covered over with the paste mixture and trimmed later.
There. You see?
Next you mix up the acrylic paste, paint, and sand with some water. The proportions are very much by feel. For my table (a little shy of 3' by 4' in either direction) I used the whole large tube of craft paint, but only one tube of acrylic paste, 1-2 cups of sand, and just enough water to make it mix easy. Don't worry if you aren't sure. I think it's pretty hard to mess up.


Mix it all together, stick your hand in, and serve a large dollop onto your canvas. Spread it around until it is evenly coated.


Then it's time to add your flock. I just mixed together all my materials and applied them haphazardly, but I think a more controlled approach would also be possible.

Here's another Amateur Tip: More flock is better. You don't want to get to this point and realize you might be short (like I almost did). Better to err on the side of a fuller, lusher table.


Now leave it to dry for an entire day before shaking off the excess... and when it's done it will look like this:


At this point I couldn't resist throwing down some terrain and Blood Bowl orcs to see what it would look like. Easily passable:

From the back ground, you can see how embarrassingly out of date this post is.
It wasn't until the next day that I remembered one of the main advantages to this kind of battle mat, which is that you can easily make hills by placing objects under the cloth. Classic!


And that's that. If you want to see how this can be done with even better results, do visit Sir Tobi. His gaming mats are fantastic.

That wraps up today's post. But look for some new painting posts soon, since I also managed to pick up some birthday (okay, Christmas) goodies for myself out of the gaming store bargain bin.


Saturday, June 1, 2013

A Wonderful Blog that Happens to be Giving Away Stuff

Today I am plugging another blog because it gives me a better chance in a prize giveaway.


I don't do this often because I find it makes for terribly dull reading, but I'm making an exception in this case because a) the prizes are exactly the kinds of things that I would like to have, and b) Trouble at T'Mill is a consistently excellent blog filled with helpful and interesting articles. So you see, I am not just trying to grub my dirty little hands on some shiny new things, but I am also supporting a fellow blogger whom I enjoy and admire.

The Champions of the Romano-British and the Saxon invaders face off in Mike Whitaker's Dux Britanniarum  campaign.
Apart from the various free stuff giveaways (links to follow) you can find on Mike Whitaker's excellent blog:

  • Comprehensive guides for things like Medieval Heraldry, Horse Color Painting based on period, and Wargaming Probability.
  • Wonderful side-by narrative and battle reports for his ongoing, and intensely interesting, Dux Britanniarum campaign. (I love reading this one. Mike has worked up a whole cast of characters and works his narrative into the battle reports in interesting ways. This one's one of my favorites.)
  • The Miller's Tale, Mikes brand new podcast.
  • Excellent terrain making articles and snazzy miniatures. Plus, Mike posts every single day. EVERY ONE. Nutty, but very valuable.
So without further ado, here are some of the things that I'm looking to win, with links:

  1. Extra Lord of the Rings Sprues. Very handy way to grab some extra fantasy figs for skirmish games.
  2. 28mm Norman figures. A brand new box. Very handy if I decide, like Mike, to get my hands into Dux B, or even SAGA.
  3. Old Citadel lead and plastic. See number one. Except more so.
  4. One Too Fat Lardies ruleset, winner's choice. Even more handy if I decide to play Dux Britanniarum, since TFL are the ones who make it. If you haven't had a chance to listen to any of their game reviews on the Meeples and Miniatures Podcast, go check it out. They have a very interesting, narrative-oriented game design ethos.

But even if you don't happen to like free giveaways, or don't want these particular prizes, I still heartily recommend that you head over and read up. It's worth it.

Friday, May 31, 2013

Scavenger Priest


Hail, brother Scratchbeak, why how cheerily you traipse!
Perhaps you found a trove of  calciferous shapes.
I can picture how, as you relieved them of flesh,
A smile must have crept
up your long, long face.

Wednesday, May 29, 2013

Follow the Cairns

Pilgrim:
Just follow the Cairns to the Groaning Vale, 
The land where the wind does cry;
Follow them thence to the Needlesheets,
Where the Mountain of Asps does lie.

But dare you not to disturb the stones, 
Lest bestir you the envy of forgotten bones,
For lonely's the soul beneath the rock--
'till a pilgrim it does descry. 

Follow the Cairns, my dear pilgrim: 
Just follow, follow the Cairns.


Just a bit of atmosphere in the form of rhyme, to get the imagination tingling. I'm going to try doing a little more of that now. Maybe the added interest will keep me posting a little more frequently, while perhaps adding some zest to otherwise fairly dry how-to articles.

Anyway, here are the final products of my little series on quick n' dirty cairn terrain pieces. You can find the previous article here.

Since that article, I have coated the CD base with sand and PVA glue, primed the pieces with gray automotive primer, and then dry-brushed the pine bark "stones" with lighter and lighter gray mixes to achieve the stone texture.

The bases were treated to a similar dry-brush method working from a base of chocolate brown. I then added a decorative lichen, soaked it in more PVA and some ground foam, and then treated the whole base with a home-made blend of dried coffee grounds, dried tea-leaves, ground foam, and home-made grass flock.

Here's the result again, from another angle.


Easy peasy. Let me know what you think!

Friday, February 8, 2013

Hardcore Foamcore: Ruins III


A quick post to conclude the modeling portion of this short series on reasonably realistic, modular foamcore terrain. Here are some pictures of the WIP pieces with all the little modeling embelishments added, but no paint. 


You can see in this inside shot of the first segment that I liberally scattered some rubble elements like stones (gravel), fallen shingles (broken coffee stirrers), and splintered timbers (thin cardboard from a six-pack I drank) to make the building look more realistically ruined, but I also tried to leave a reasonable amount of room to place figures during game play.


The outside of this section showcases the vine coverage which I think really adds some interest. The leaves of the vines here are actually made from crushed eggshells (the brown bits are some dried tealeaves that were originally stored in the vessel I used). I found out about this nifty trick at terrainthralls, here. (If you haven't seen this site yet, I recommend it. Great tutorials.) I added an extra wrinkle by using some PVA and twine to create the vine stem, in a similar manner to my tree roots.


I constructed the roof timbers with coffee stirrers. It's really easy to cut them to whatever shape you want: just score them along both sides with an exacto, and snap. For messy breaks, I found it best to twist them instead of snapping.

I inserted the rafters by making a shallow cut at the top of the wall and setting each beam in with a bead of glue.

I then laid on tile 'strips' to quickly achieve the look of a once-fully-tiled roof. I then cut a few loose tiles and artfully scattered them over the edges where the strip method might be betrayed if left uncovered.


Don't know what happened with the lighting on this picture, but it's the only one I have of the interior of this building. I really enjoyed wrapping the creepers around the wall and through the window for just a little more character.


And that's that. Stay tuned for some pics of the finished, painted models. In the mean time, comment. Tell me what you think. Or lie and tell me what someone else thinks. Don't care.

Tuesday, February 5, 2013

Hardcore Foamcore: Pillars

 
A quick post on an easy way to make a few characterful terrain "smalls." using left over foamcore. After cutting all the template pieces for my ruins, I found that I only had a little bit of material left over. Not enough for any real project... but just enough to cut into some rectangles and octagons to make some pillars for cover in skirmish games.
 
Also, since only one side of the foamcore would be visible, I could use a classic terrain building technique to reinforce the joins:

 
Simply lift one edge of the foam covering like so...


...And use it as a gluing surface for the interior of the joins. Quite strong when dry.


While the pillar quadrangles were drying, I glued the octagonal bases to some large fender washers for weight.


Finally, I peeled away all of the outside paper and used the same scribing technique as I used in my ruins, roughed them up with a rock for texture, and there you go:


These will be seeing paint soon, along with the ruins. (You can see a sneak peak at the right edge of the above photo.)

DO YOU FEEL STRONGLY ABOUT PILLARS? (Or terrain, or foamcore, or anything? ANYTHING?) If so please comment below.