Showing posts with label Modeling. Show all posts

Friday, February 27, 2015

Orbital Shipyard II: Experiments in Press Molding

Here's the thing about scratch-building starship miniatures: It's difficult. And time-consuming. And fiddly.
(https://deepspacepilots.bandcamp.com/)


Sometimes you get frustrated with trying to build your model from the various pen bits, cigarette lighters, oddments, and thingummys, and you start effing around instead.

Then you wind up with weird abominations like this:


And then you get tantalized. You find more things to press into clay that's a little too stiff to roll out evenly. You try and figure ways around the problems of symmetry. 


You actually try and make a two part press mold work. These are the things you use:


This is what it looks like while the resin is curing:


This is what it looks like when you eff up pouring:


And this is what you get in the end, none of it fitting together or resembling anything usable as a miniature, but all of it promising the wonderous concretization of ideas that is the terminal point of my interest in this hobby:


So. Back to the dry-dock. But with the knowledge that the cosmos will some day yield the sweet, sweet juice of miniature space battles.

Monday, February 23, 2015

Vento Servitas: Converting the Windy City Wizard

The guys at CSW had the wonderful idea of doing a Secret Santa miniature exchange at the end of last year. As, very unusually, I took the time to document the process, I thought I'd do a step-by-step on how I went about converting and painting my contribution.

But first, the inspiration. Gifts were to be painted miniatures tailored to the recipient. I drew Tim as my giftee, and I remembered seeing his Fairy army in the pictures of the club's Kings of War game.

That got me thinking of Summer Knight: Dresden Files Bk IV in which the eponymous Harry Dresden, a hard-bitten wizard private detective, participates in a battle between fairy courts.

...and that got me thinking about how a wizard would make a great character for a KOW army. Fairies...wizards...Chicago...wind... 

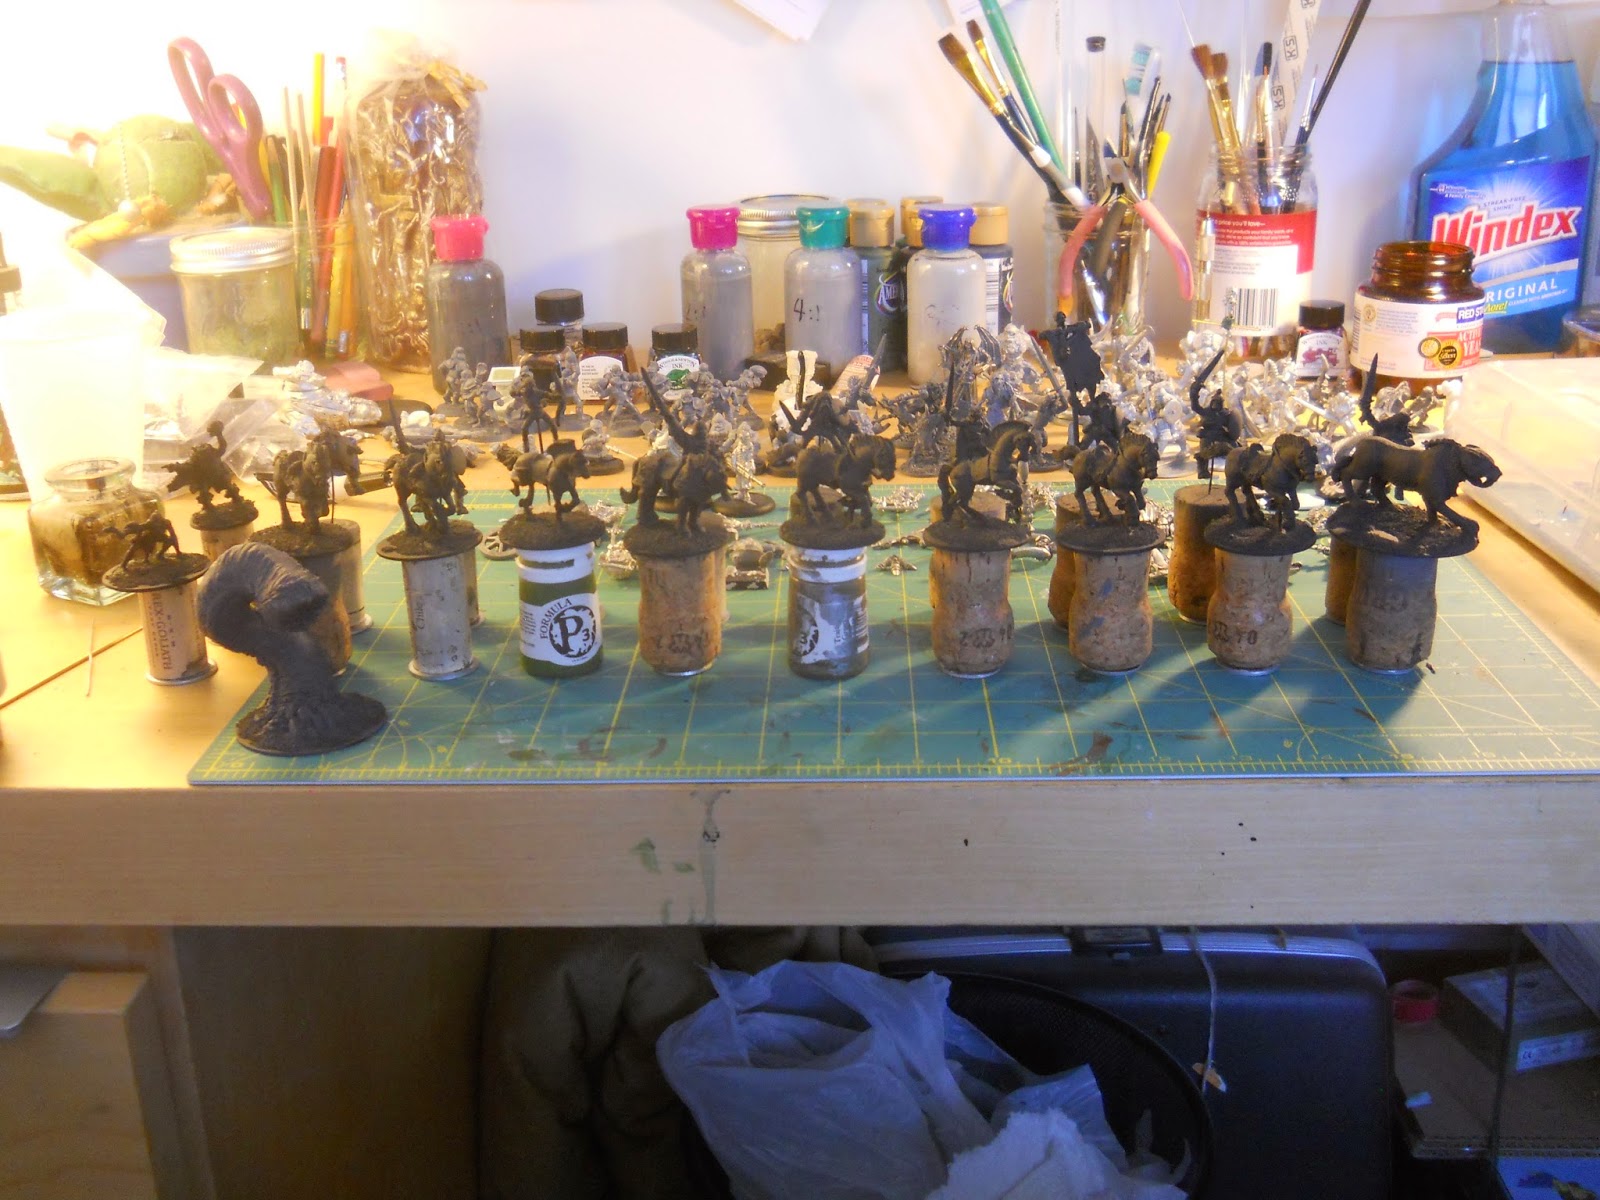
So I embarked on this conversion of Reaper's Keiran Tallowmire, which I had sitting around unpainted. I could have just painted it straight, but I like giving my figures a twist if I can. I decided on a nice, big, weird shaped banner to make the wizard stand out from the massed regiments of fay.


First step was to remove the head of the staff, carefully leaving the hand of the familiar sitting on the wizard's shoulder as intact as possible. I then drilled back into the base of the staff and inserted a suitably large and twisted bit of brass rod. I happened to have another weird little bones familiar that I decided to use as a banner-topper.


And it was good. But when I went to add the cross beam, I realized I would need some further ornamentation. I dug through my bits box and came out with a GW dwarf weapons sprue.


The obvious move would have been to use axe heads, but it didn't feel quite right. Eventually I hit on the idea of using the hands themselves to cap each end of the cross-piece.


A couple snips and a careful bit of drilling and carving and I had some nice, empty fists to use.


These then went were drilled and glued on:


The thing with making custom banners is that it can be very difficult to make them sturdy; however, with a little experimenting, I hit on the following rock-solid method using sewing thread and superglue.


First, cut a nice, long piece of thread (like, at least a foot, maybe two). Position the elements and tie them with a criss-cross of thread. This won't be very stable; you'll be able to slide the pieces until you have a configuration you're happy with. Seal it with a drop of superglue.


Continue to carefully wrap with thread, using a variety of patterns: up, across, and diagonal. Make the wrap pretty tight. Every once in a while, saturate the growing knot with a few more drops of superglue. This should harden the thread into a solid mass.


Eventually, you'll get something like the above; a solid, sturdy join. When you're satisfied with it's strength, trim any excess thread and coat in a final application of superglue.


As long as I was experimenting, I decided I'd try using baking soda and superglue as a new basing material to create a fine, stone-like texture. That done, I brushed on some mid-gray in anticipation of undershading.


Now that I had the pole made, it was time to design the banner itself. I placed the figure against some Vellum and traced how I wanted the banner to fall.

I've always really liked the goofy mottos on Old Skool banners, and in this case, there was really only one choice for what the banner would say. In the book series, one of the most common spells that Harry Dresden uses allows him to control the wind. And since this is the Windy City...

Vento Servitas!

I drew up the image in drawing pencil first and then went back in with waterproof ink. I called it a night at this point while I let that dry, and went to bed incredibly excited about the project. It's amazing how just a small grain of inspiration can turn a figure in which you have little interest into an intense, multi-layered project.

Stay tuned next time for how I painted the Windy City Wizard using undershading and W&N inks.

In the meantime, let me know what you think!

Wednesday, February 4, 2015

Mayhem Machine

After playing a couple of games of Nuclear Renaissance with my first post-apoc/scifi vehicle, the Tar Eater, I realized that the Slagscape Conservation Collective had a small hole in their fighting corps...


...an armored-truck-shaped hole.


Fortunately I had this bulky, but rather low-detail, rescue ambulance around (another gift from Karl). The original vehicle was pretty open and pretty obviously out of scale, but with the addition of a lot of plasticard 'plating,' it comes across as an imposing ad-hoc land-fortress.


The rear wheel wells were made from a coke cap that was very cautiously sliced in two. The rest is pretty much all plasticard, variously layered, drilled, bent, and glued until I was satisfied.


The railings and rungs are just bent jumbo paperclips. I made sure that the howdah at the top was big enough for two figures.


The slit in the front blast shield was pretty easy to make once I realized I could drill a hole at either end of the slit to the desired width, and then cut between them with an xacto blade. A handy trick.


By the time I got to the painting, I really couldn't be bothered to put in too much effort. I just used a grungy melange of inks and paints applied haphazardly over the whole gray-scaled model to convey a rusty, all-metal behemoth.


Below is a picture of the Slags getting ready to move out after a day of sightseeing near the Liquid Crystal Cascades in the foothills of Beer Bottle Mountain.


Let me know what you think by placing your comment in the specially-designed, armored comment compartment below.

Friday, January 23, 2015

Tar Eater!


My fellow CSW member, Karl, has a fun habit of just giving me stuff sometimes. (He's not the only one, either. I'm lucky enough to game with a group of guys who like giving me things. I'm certainly not going to complain.)


So when I was looking for a vehicle to use in Nuclear Renaissance and it turned out that Karl had a '57 Corvette he wasn't going to use...

I've long been a fan of Carmen's awesome custom post-apocalyptic death racers, and this was the perfect opportunity to try my hand at making one of my own.


I removed the undercarriage, which allowed me to attach the wheels directly to the body, lowering the ride sufficiently to make sure the car would scale at 28mm. Then I glued the windshield in place, fashioned blast shields from plasticard and a hood-mounted cannon from a ball point ink reservoir and the tip of a pencap. Then I started to get a little whimsical, and gave the sucker jet propulsion using the other end of the pencap glued to a superglue cap, with guitar string fuel lines.


In the above couple of pictures, you can see it primed and drybrushed in gray-scale. Here's an Amateur Tip if you decide to do one of these yourself: the wheels are made of a soft plastic that gets really sticky after spraying, so I recommend either masking or undercoating them before priming.


Painting was very basic, pretty much just covering the whole model in a diluted rust-colored glaze made from W&N inks. I then painted up the windshield, attempting to follow this excellent tutorial on SpacemanSpiff's blog, ending with a red glaze for both the windshield and the blazes on the sides—to reflect the red, glowering atmosphere of the slagscape through which this beast must hurtle.


The last step was the christening, above. Not just a name, an imperative. An expression of a need, the need for octane, the need to chew up road and spit it out in ribbons, to sear across the landscape and watch it bend and blur as though—maybe, possibly—it might not be real. In the ruined future, there's only one way to be...


...and that's fast.


Thinking of leaving a comment? Don't bother. Words are meaningless, velocity is everything. Put the pedal to the metal and fly.

Saturday, January 17, 2015

Synntowne Abbey Manglers


Still digging through the old backlog, and in so doing I found the in-progress photos I took of my Chaos Cup 2014 team, the Synntowne Abbey Manglers. This was a teamed formed by the rambunctious monks of the monastery at Synnetowne. Their enjoyment of the thrill and violence of the Gorious Sport was such that it became encorporated into their spiritual life. Never is a monk of Synnetown closer to God than when he is pushing an opposing player's face into the pitch.


Above is the undershaded team. Since I had to paint these guys in record time for me (something like two or three days) I was relying very heavily on the undershade and glaze/wash technique. (Nevermind that I've been assembling this team for literally years.)


And here's the guy I purchased specially from Reaper to round out the big guy slot on the team. His mangled mug just screamed athlete to me. Of course, I had to do some work to make him pitch-ready; I hacked off his club (and carefully filed it in my bits box for future use) and sculpted up a little football, leather helmet, and jock strap.


If you've ever played Blood Bowl, you'll know that it's not very often that an Ogre gets to handle the ball, but the pose was so perfect and the idea so amusing that I just had to go with it. 


So the monks took in Prodigious Groat as an initiate. It's true he was not the most pious, nor the most community-minded. But he surely was a useful fellow to have on the Line of Scrimmage, and that would give him some grace with the bloody deity of Synnetowne Abbey.


As turn counters, I slapped my extra 2014 Chaos Cup model onto a washer and rigged together a banner pole for a team flag:


Below is a (rather blurry, sorry) picture of the finished team. If you look close at the flag, you'll see that the Order's motto is Ora et Pulta (meaning pray and pummel), a spoof of the Benedictine motto of Ora et Labora. 


Thanks for looking. Next time I'll post a quick tutorial on how I painted the skintones on Prodigious Groat. 

For the curious, below is the roster I used in the tournament. The incurious but talkative may skip down to the comments box and let me know what they think. Those who are both incurious and untalkative can do whatever they want. It's their life.


Monday, December 29, 2014

Orbital Shipyards: Scratchbuilt Spaceship Minis

...or a start at them, anyway.

At some point early this year, I played my first game of Full Thrust with CSW (I don't think there was ever an AAR for that particular game, but you can read a report from a 2011 game here), which inspired me to figure out how to cobble together some DIY starships and sundry. Below are my first attempts. My goal is to scratchbuild a couple of 'master' designs from which I can cast a fleet in resin.


The above would the upper and lower halves of a space station, made out of the caps taken from Dean's half and half bottles.


Pen ends look a lot like exhaust ports to me for some reason. And I have to find something to do with these cigarette lighters now that I no longer smoke.


That guy on the left above is a toothbrush cover, but looks to me like it could one day be some kind of civilian freighter. Getting the basic shapes down is fun and easy... the part I'm struggling with is the small level detail that will really sell the illusion that these things are spacecraft rather than just junk drawer objects.

More on these as construction develops. The fleet will be completed on schedule...everything is proceeding as I have forseen...

Monday, August 4, 2014

Sculpting a Token

Been pushing around some putty again lately, and sitting there as I do with a bunch of extra because I can't seem to judge how much I need, I decided that I wanted to make another attempt at sculpting some miscellaneous fantasy gaming tokens to maybe eventually cast (I've been ultimately disappointed with my previous attempts.


I started, of course, with a skull - in the eternal hope that the next playtest version of skulldred will come out and make all of my dreams come true - so that I could have something to use for dreadskulls.


...but I decided that that skull was too bare, and that it would be more interesting if I added a mass of twisty, soddy hair around it. Now I'm much more satisfied. Are you? Let me know below.

Monday, July 21, 2014

Preparing the Dire Men

So I've finally gotten to the point where I can start showing off my new SoBH warband. The figures are all painted, I've made the cards, but, since I am no magic man, this all came together several weeks after the start of the CSW's summer SoBH campaign


...which means I have some WiP shots of my Dire Men (EM-4 miniatures mounted barbarians. Check them out) that I would feel silly posting after the painted versions of the same. So today's post is something of a filler/teaser until I start unveiling my grime-punk masterpieces.


Fulgid Glim and his Dire Men have, however, already participated in a couple of battles, so for the impatient you can check out the figures and their deeds so far here...


...and also here.


Why so many WiP shots, you ask? Well, I had originally planned to make a tutorial on my entire painting process, but as usually happens, the deadline for finishing the band got the better of me/ I got too excited and involved in the actual painting to document it properly.


And so the futility of my endeavours is perpetuated. I pass it on to you in this largely useless post. You can do the same for others by leaving a comment below. The more fatuous, the better.